You need to export the Microsoft 365 mailbox and create a PST file to save the old email data. The best way to do this migration is to use the Microsoft Purview compliance portal and export the Microsoft 365 mailbox to PST. We will use the free Microsoft eDiscovery tool when exporting Microsoft 365 mailboxes to PST files. This article will teach you to export Microsoft 365 mailbox to a PST file.
Table of contents
Export PST file from Microsoft 365 using eDiscovery
Export Microsoft 365 mailbox to a PST file by following the below steps.
1. Assign eDiscovery Administrator role group
The administrator has the Global admin role in the organization. But they don’t have the permission to export the mailboxes. To get access, you need to check if the permissions are set. Otherwise, we need to add them to the role group eDiscovery Manager.
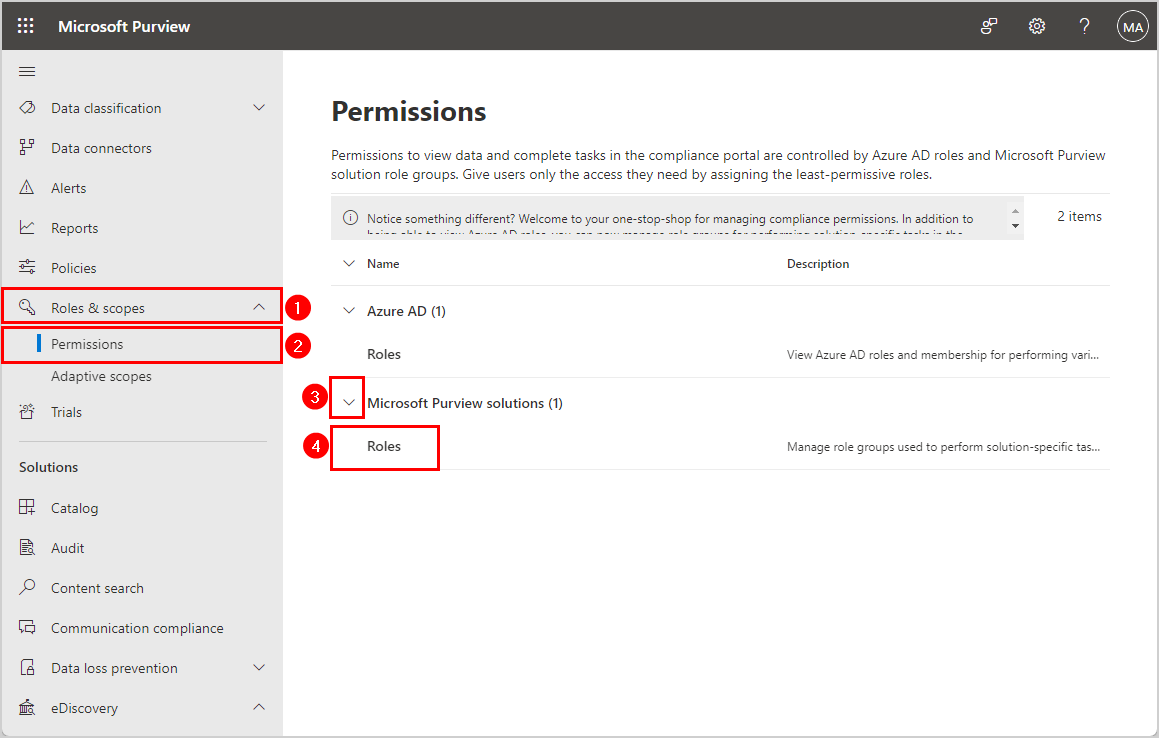
Set the permissions in the compliance portal:
- Sign in to Microsoft Purview compliance portal
- Expand Roles & Scopes > Permissions
- Expand Microsoft Purview solutions > Roles
- Click on eDiscovery Manager from the list
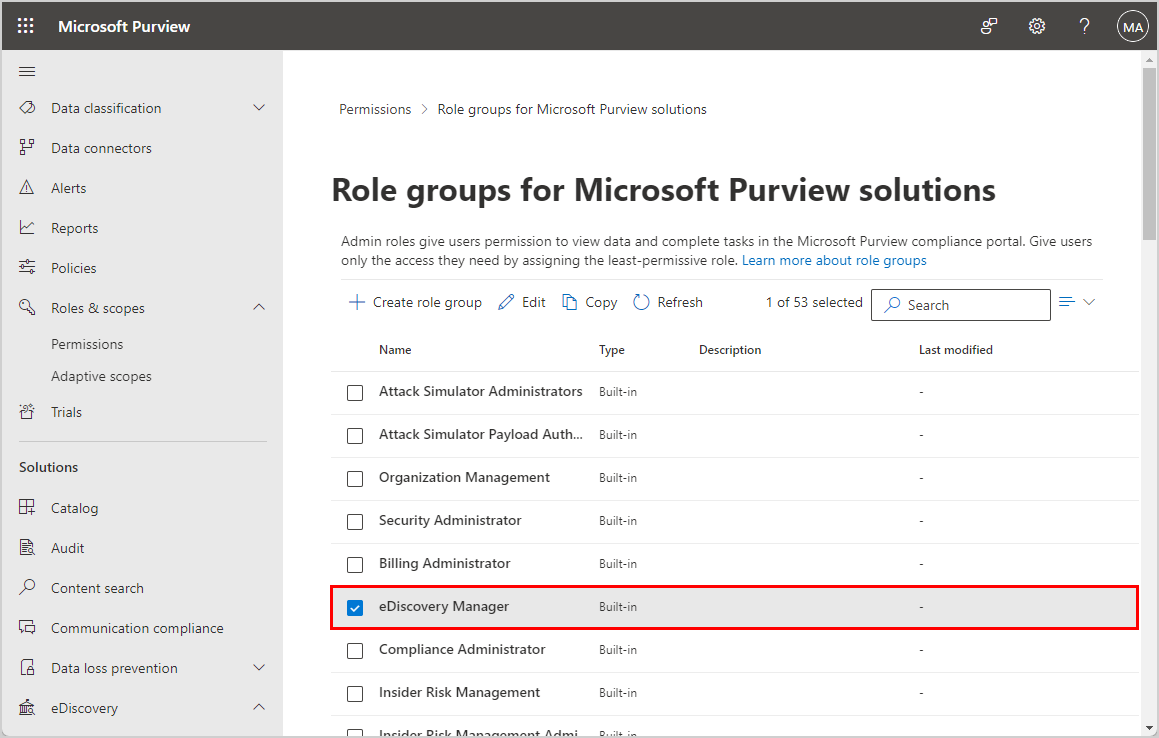
- Check if There’s no assigned member
- Click Edit

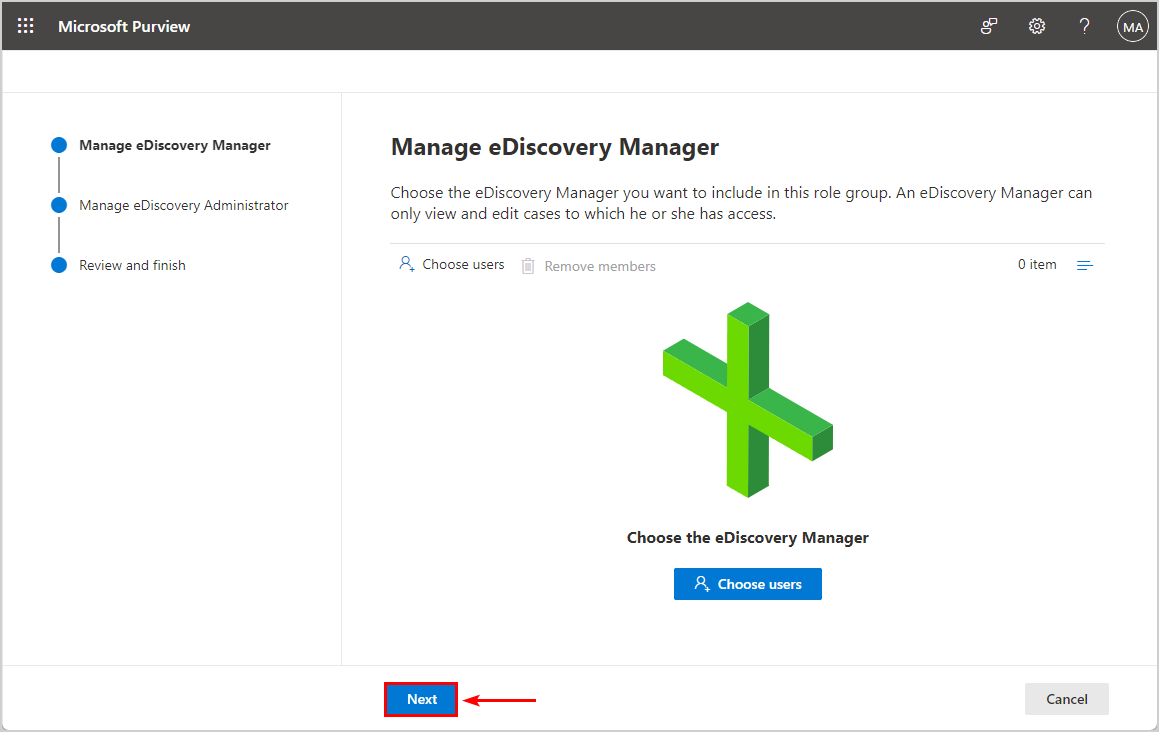
It will ask which eDiscovery Manager you want to include, but we don’t need to choose any users.
Note: An eDiscovery Manager can only view and edit cases to limited cases. An eDiscovery Administrator can view and edit all cases regardless of permissions.
- Click Next
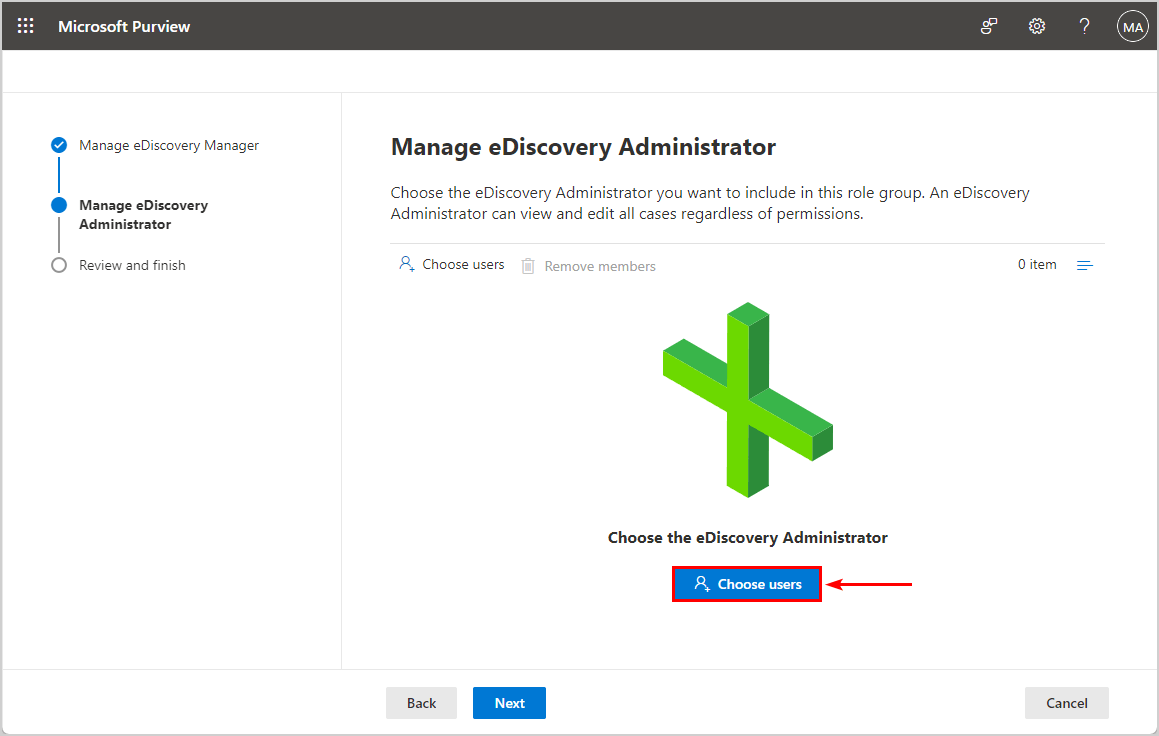
Next, we will add the administrator account for the eDiscovery Administrator role group.
- Click Choose users
- Find and select the administrator account from the list
- Click Select
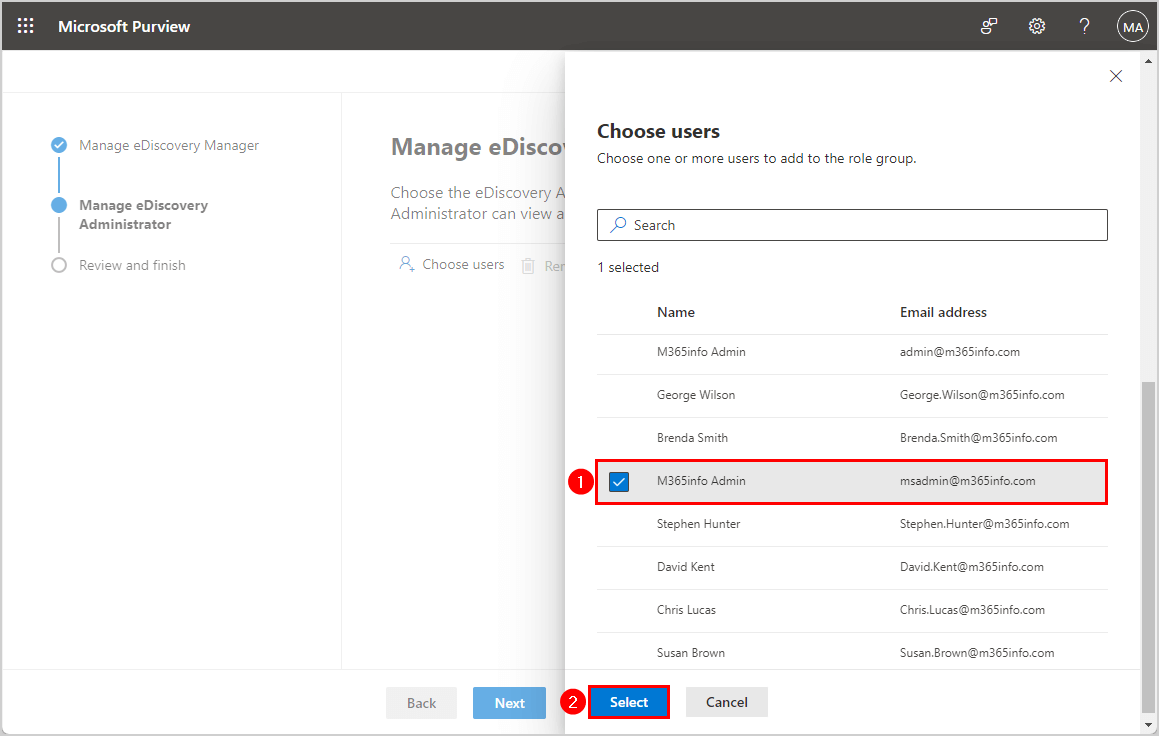
- Click Next
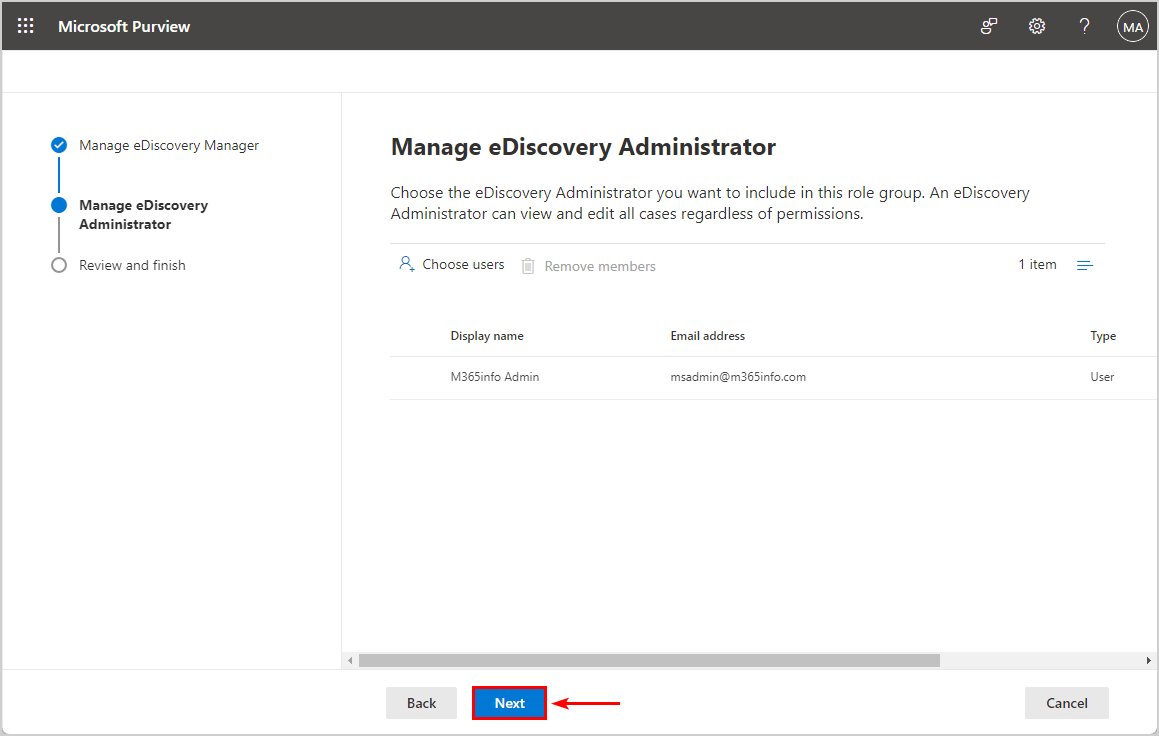
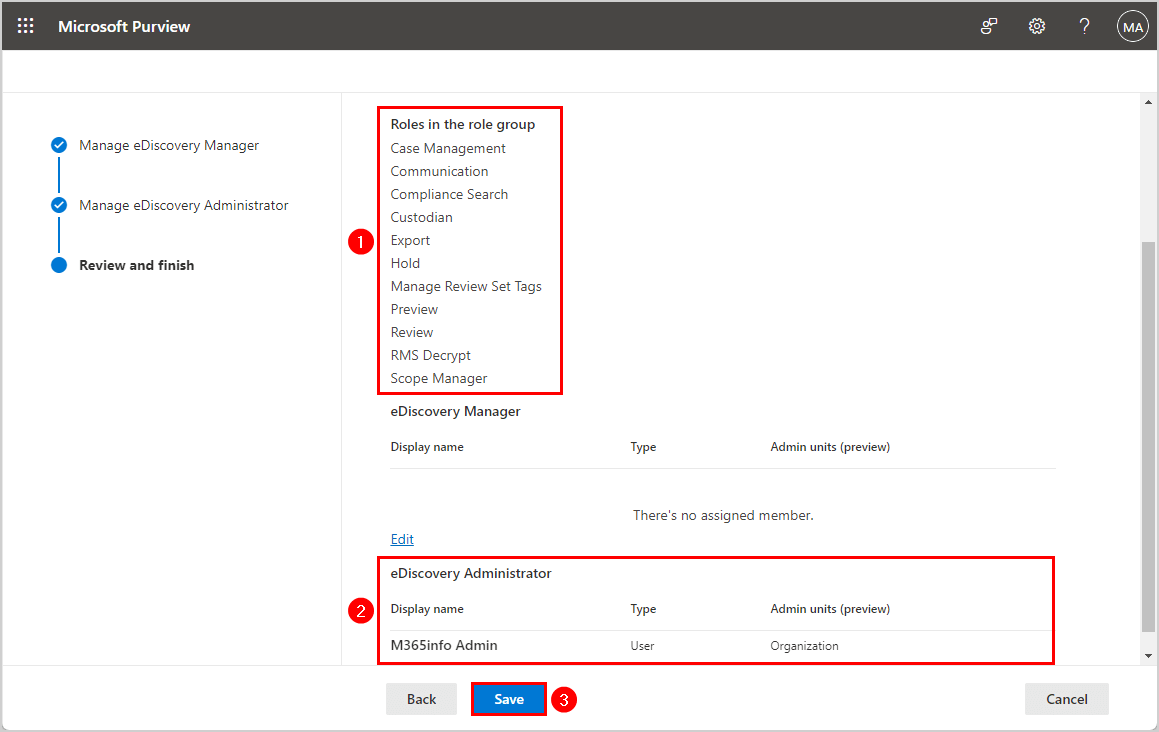
- Check if there are Roles in the role group eDiscovery Manager
- Check you assigned the administrator account to eDiscovery Administrator.
- Click Save
You successfully updated the role group.
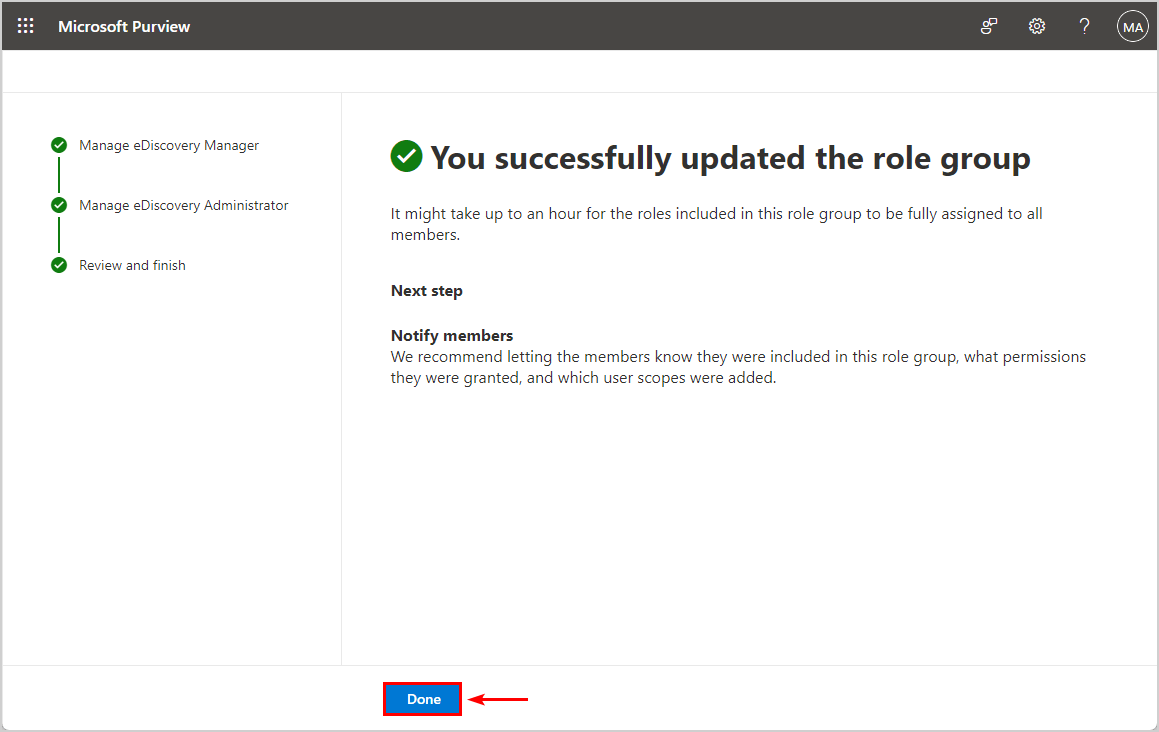
Note: Once you save, the changes can take up to 24 hours to apply. Most of the time, it will work within 1 hour.
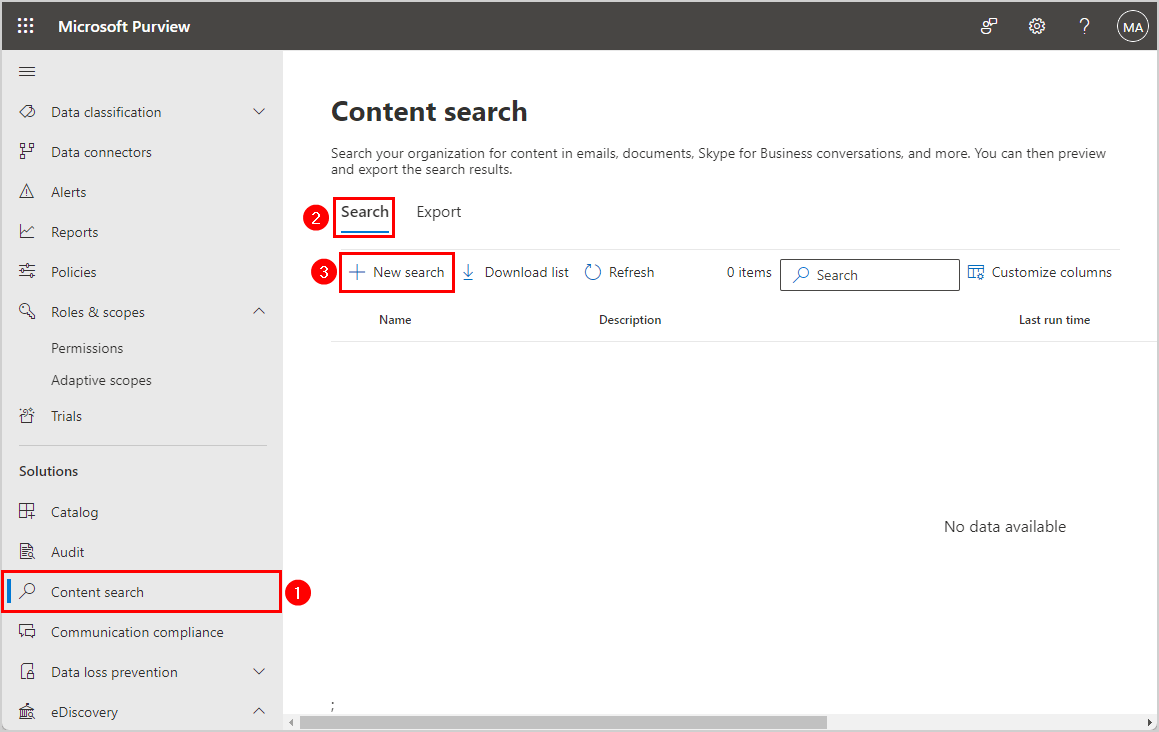
2. Create content search
In this step, we will search for the exchange mailbox.
- Go back to Microsoft Purview
- Click on Content search
- Click Search > New search
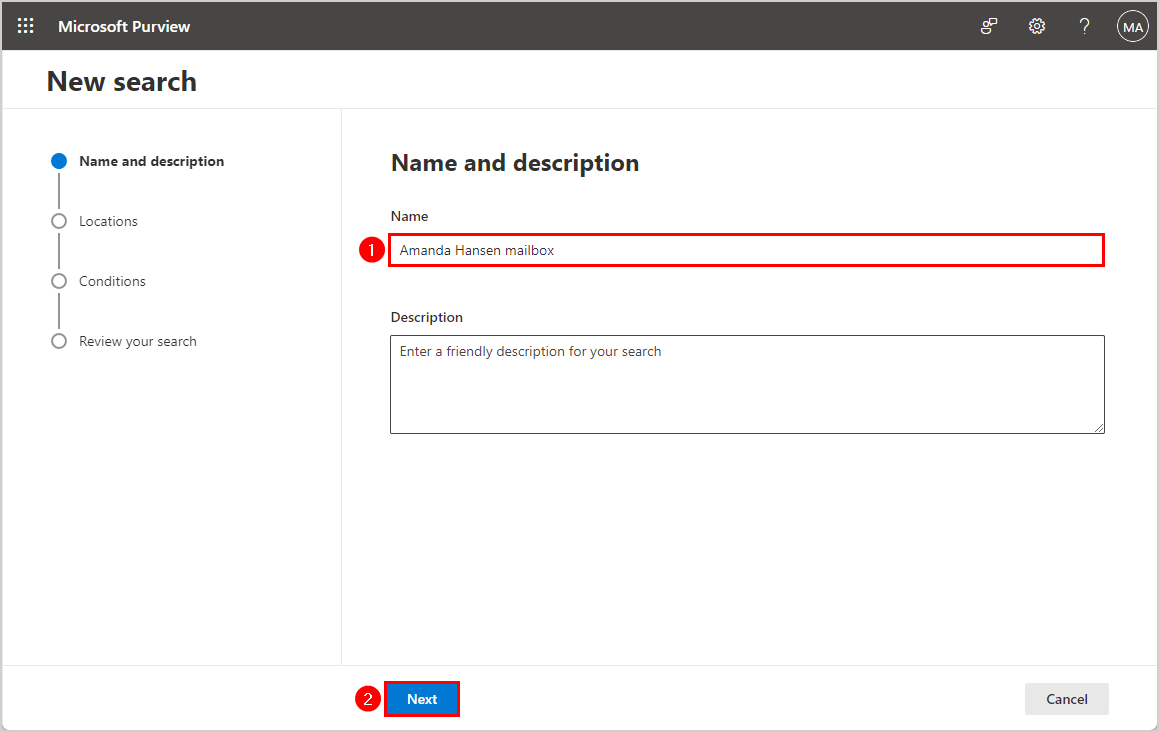
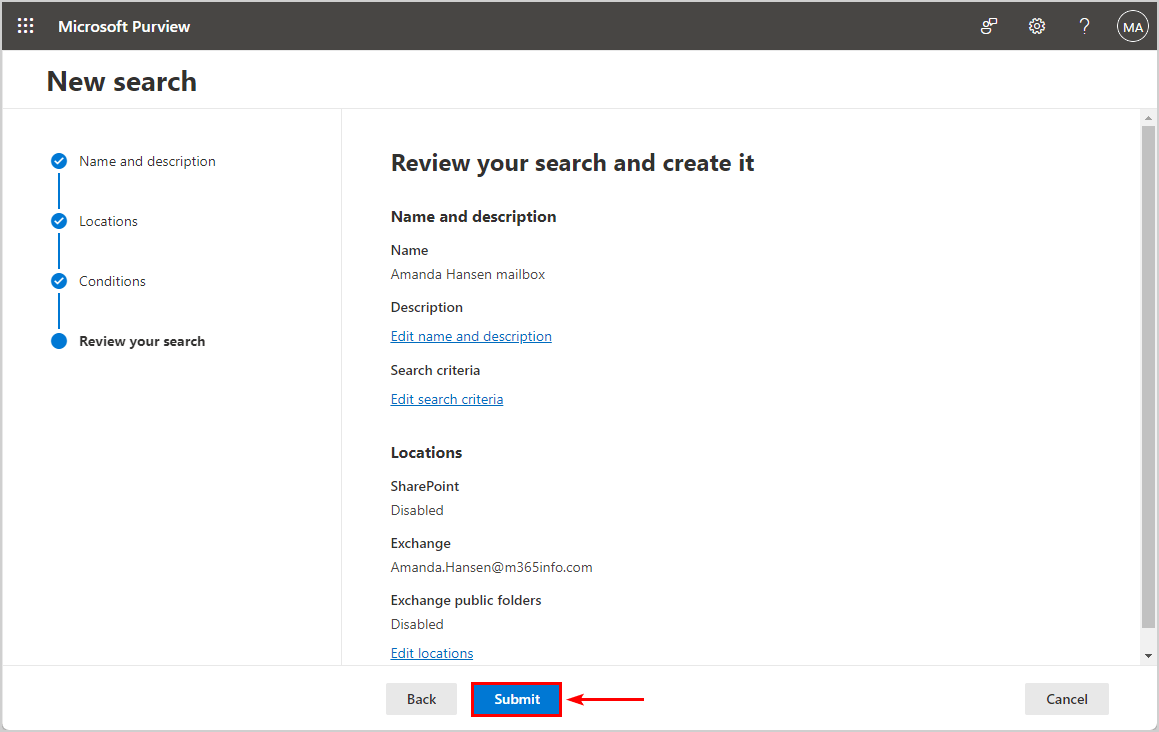
- Add the mailbox Name (e.g. Amanda Hansen mailbox)
- Click Next
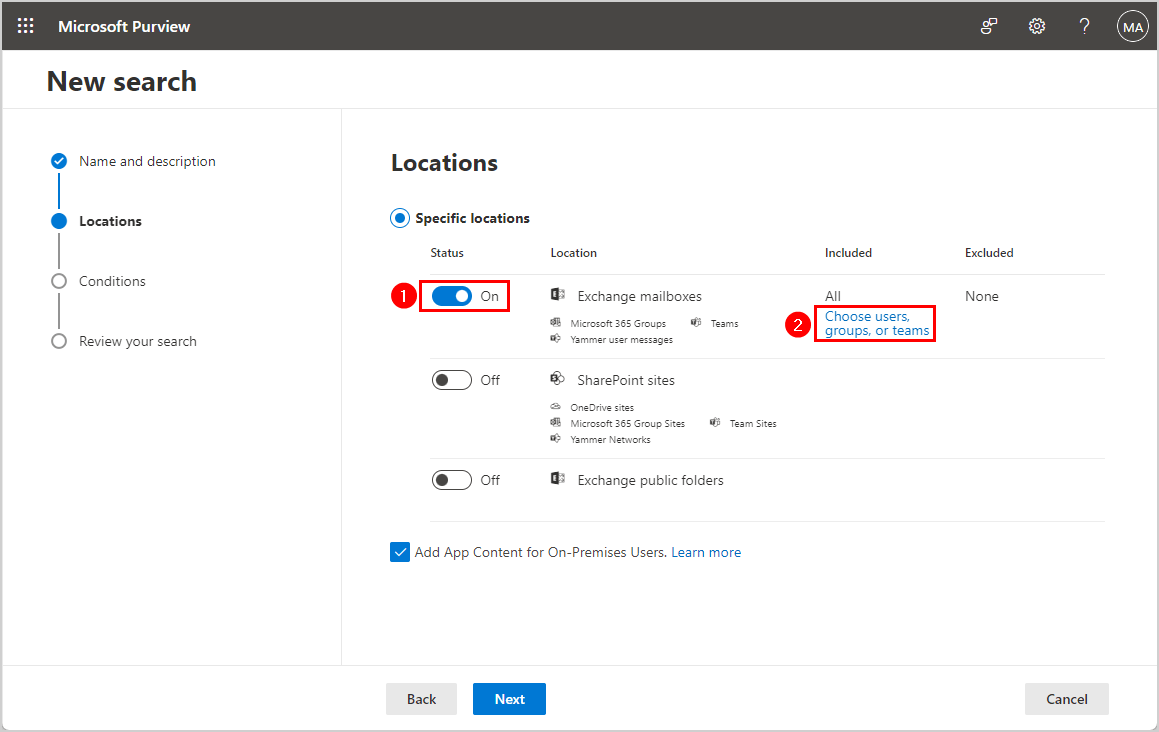
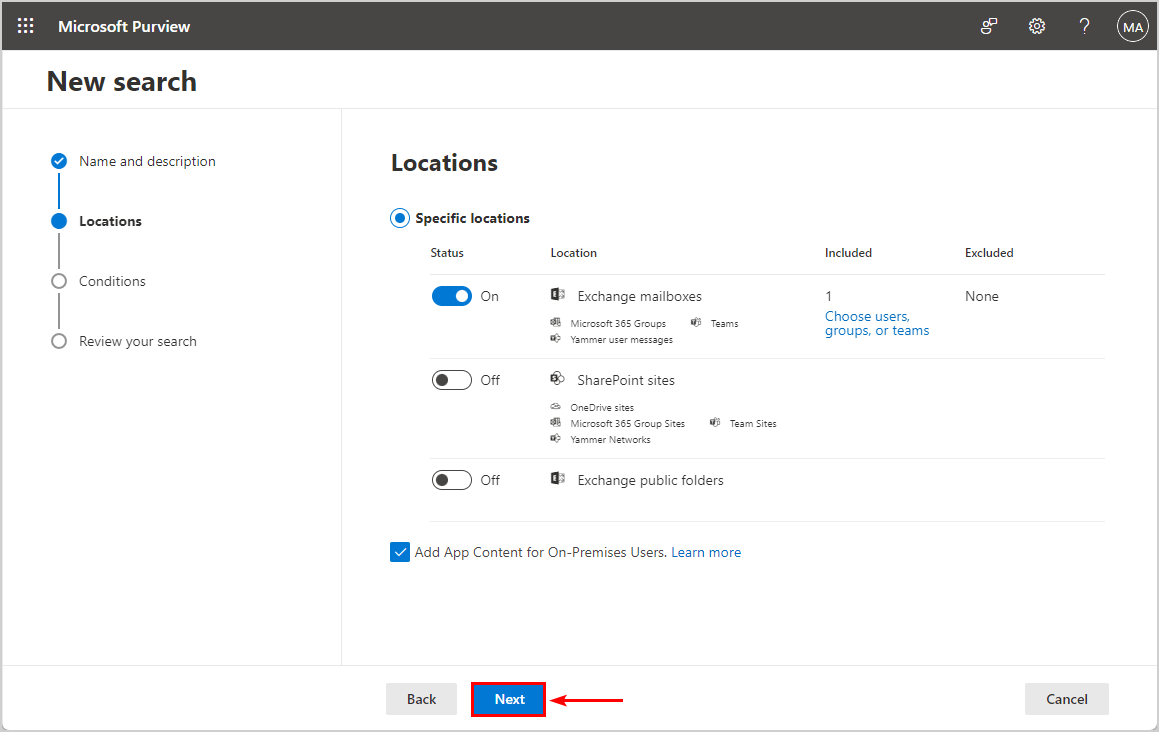
- Turn the switch On for Exchange mailboxes
- Click on Choose users, groups, or teams
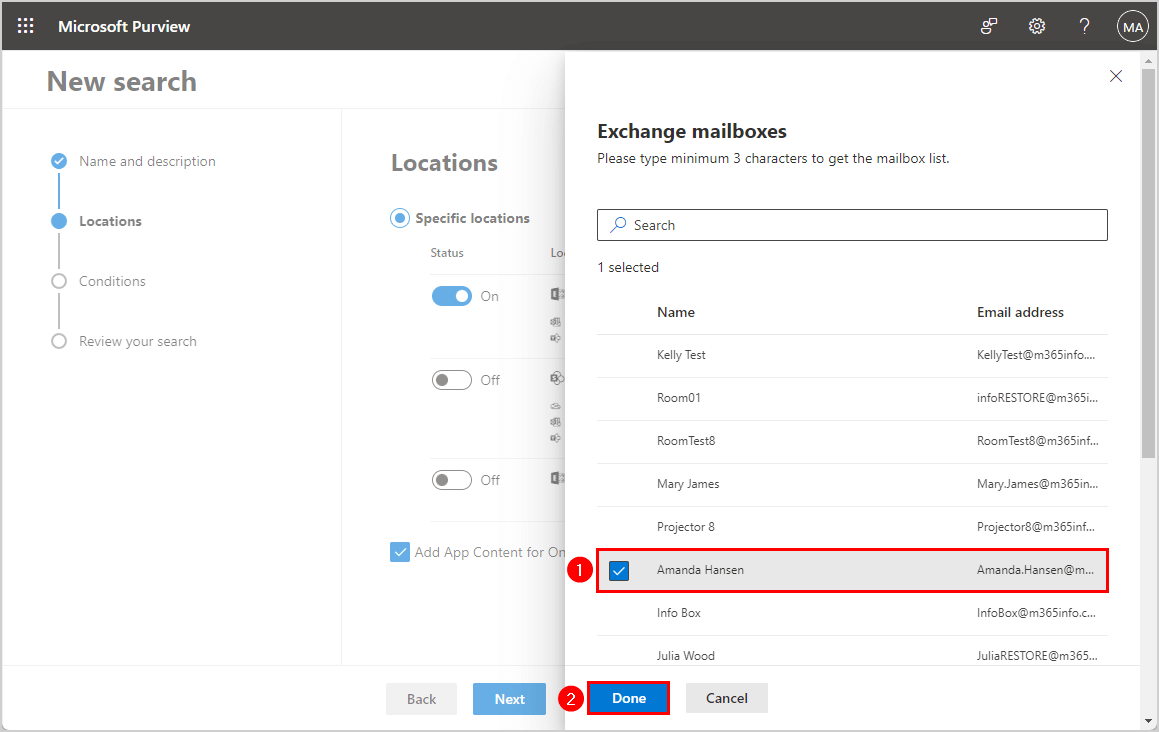
- Search for the Exchange mailbox if needed
- Select the mailbox
- Click Done
- Click Next
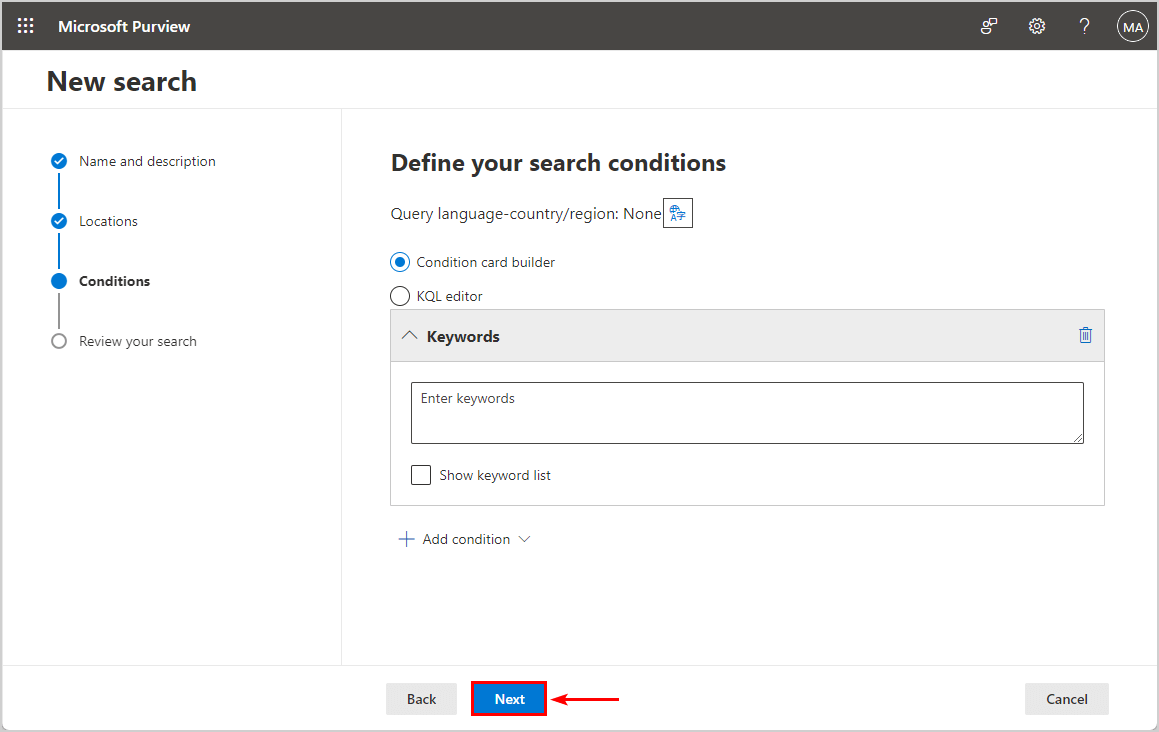
- Click Next again
- Click Submit
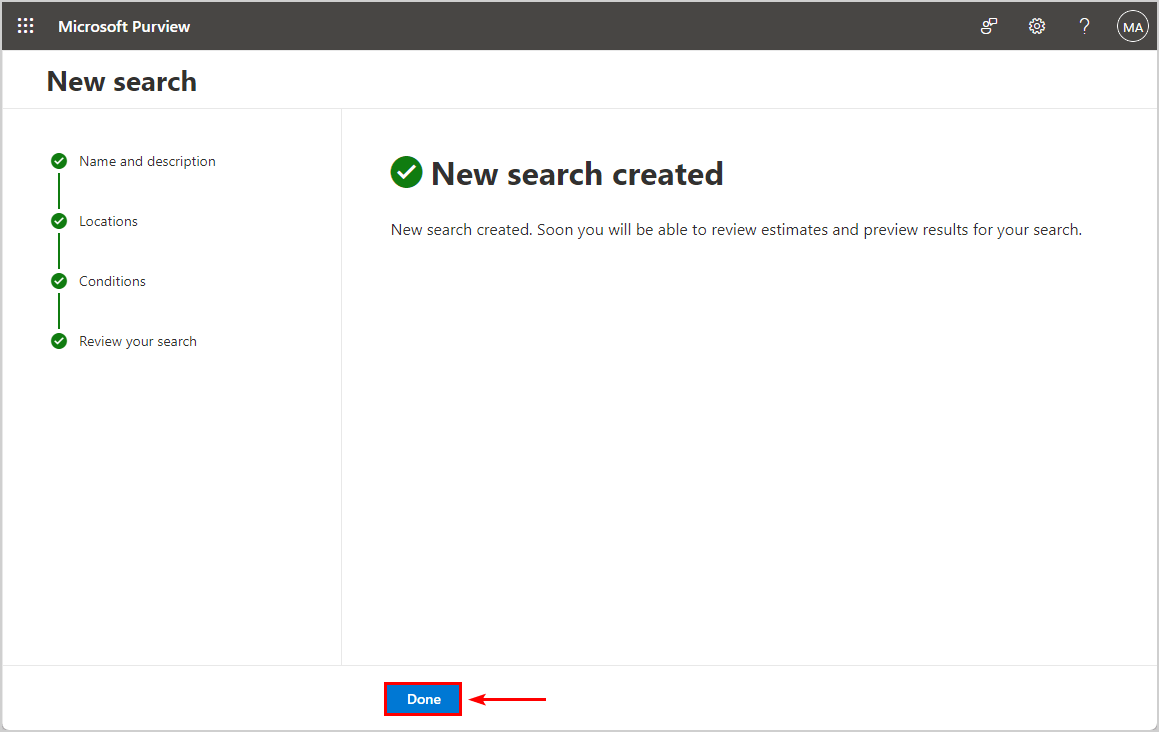
New search created.
- Click Done
In the next step, we will import the PST file.
3. Export Microsoft 365 mailbox to PST file
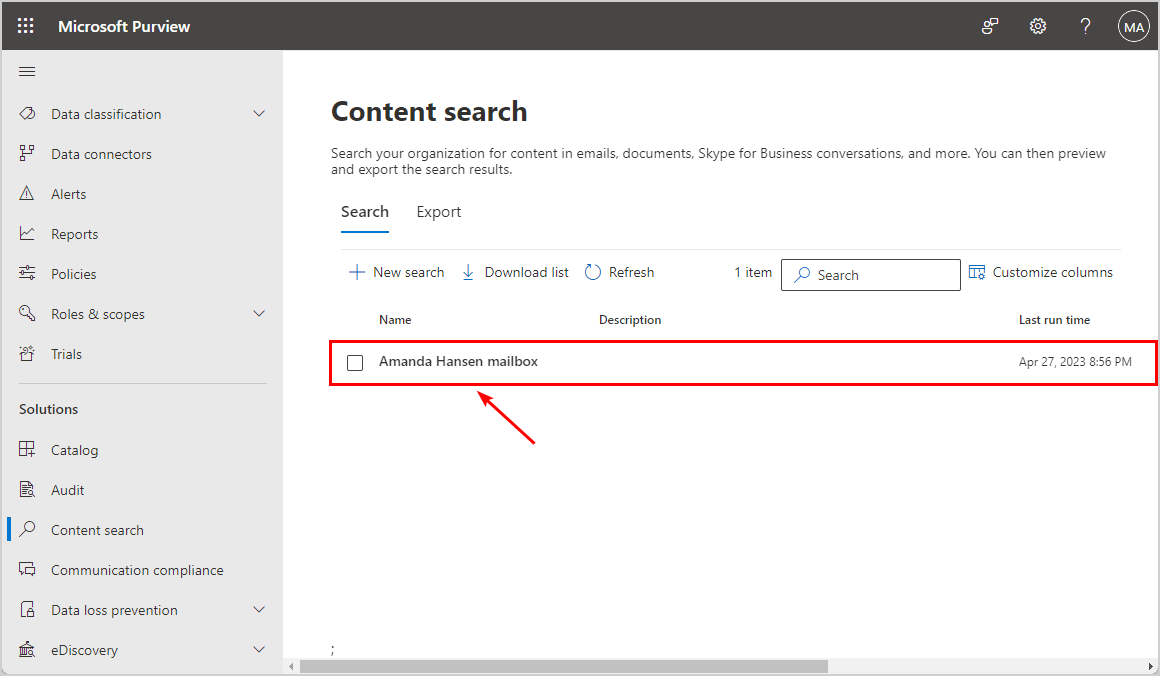
In the Content search list, you will see the name you created in the previous step.
- Click on the name
You will see that the Status search is completed.
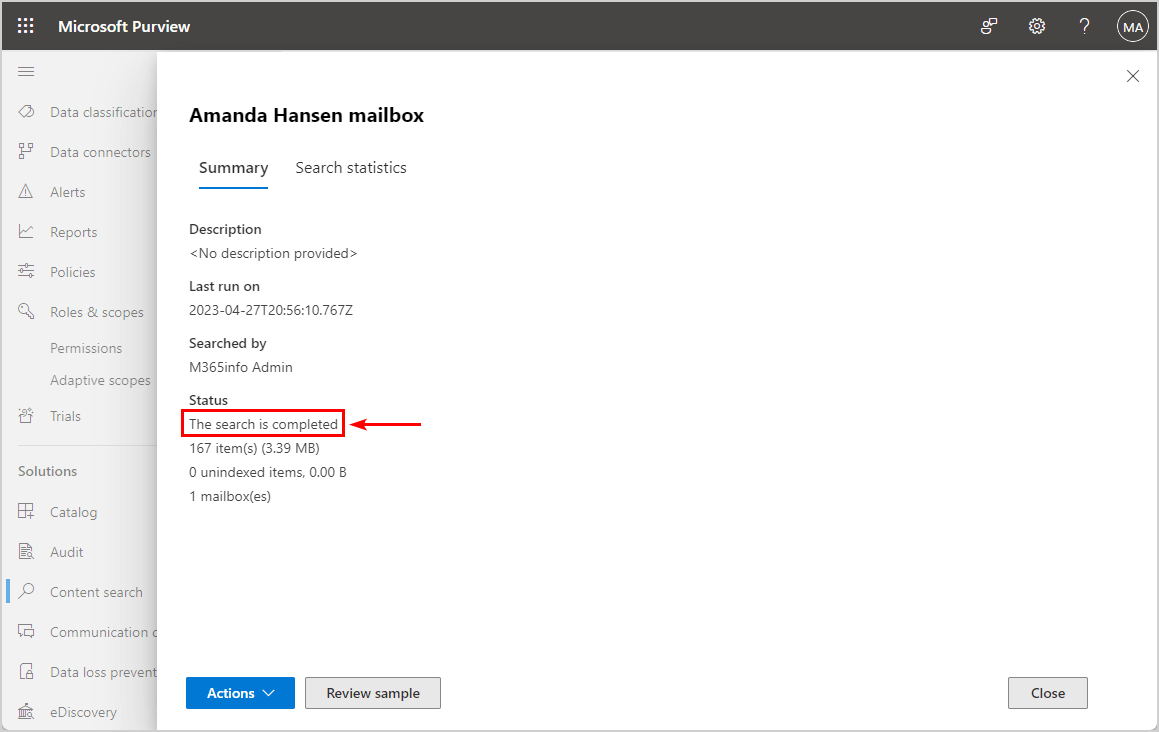
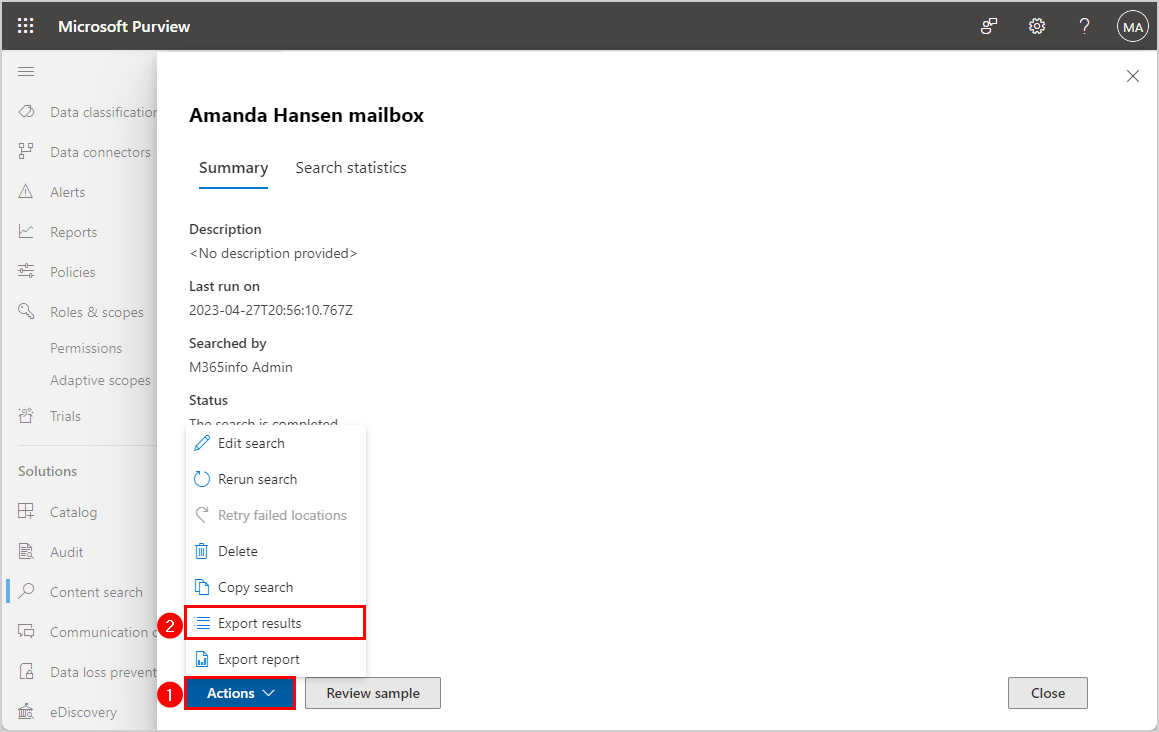
- Click on Actions
- Click Export results
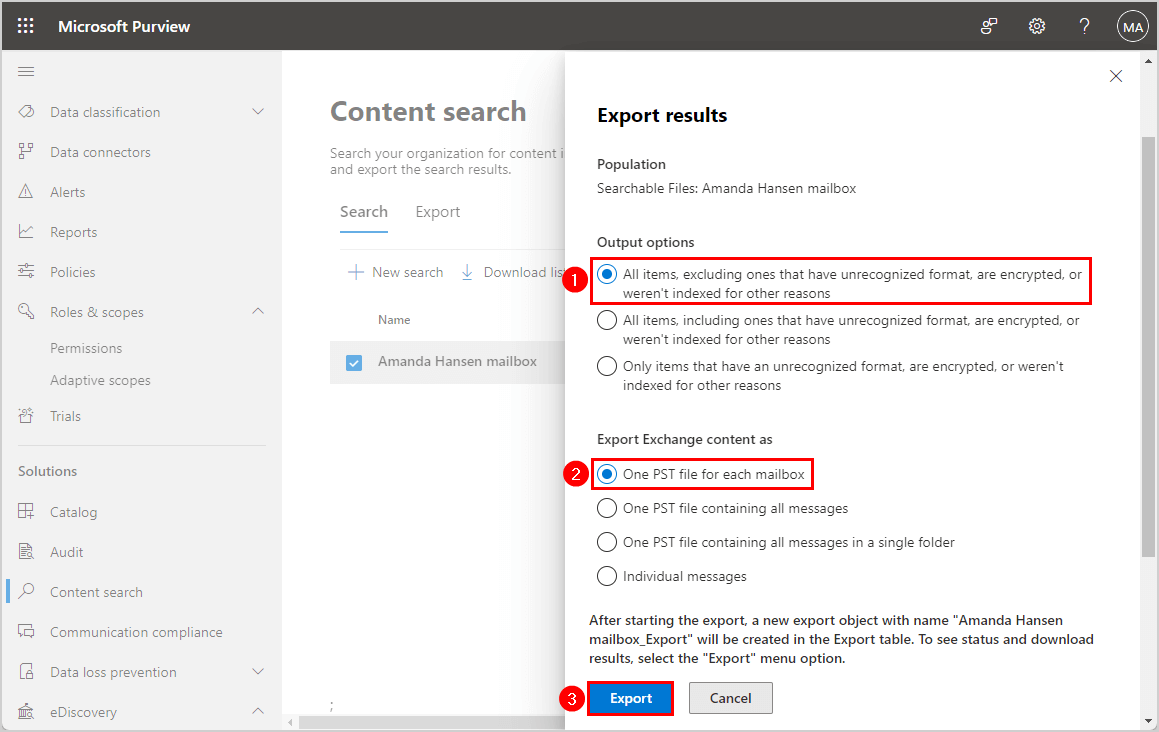
Select the output options that you like to have.
- Select All items, excluding ones that have unrecognized format, are encrypted, or weren’t indexed for other reasons
- Select One PST file for each mailbox
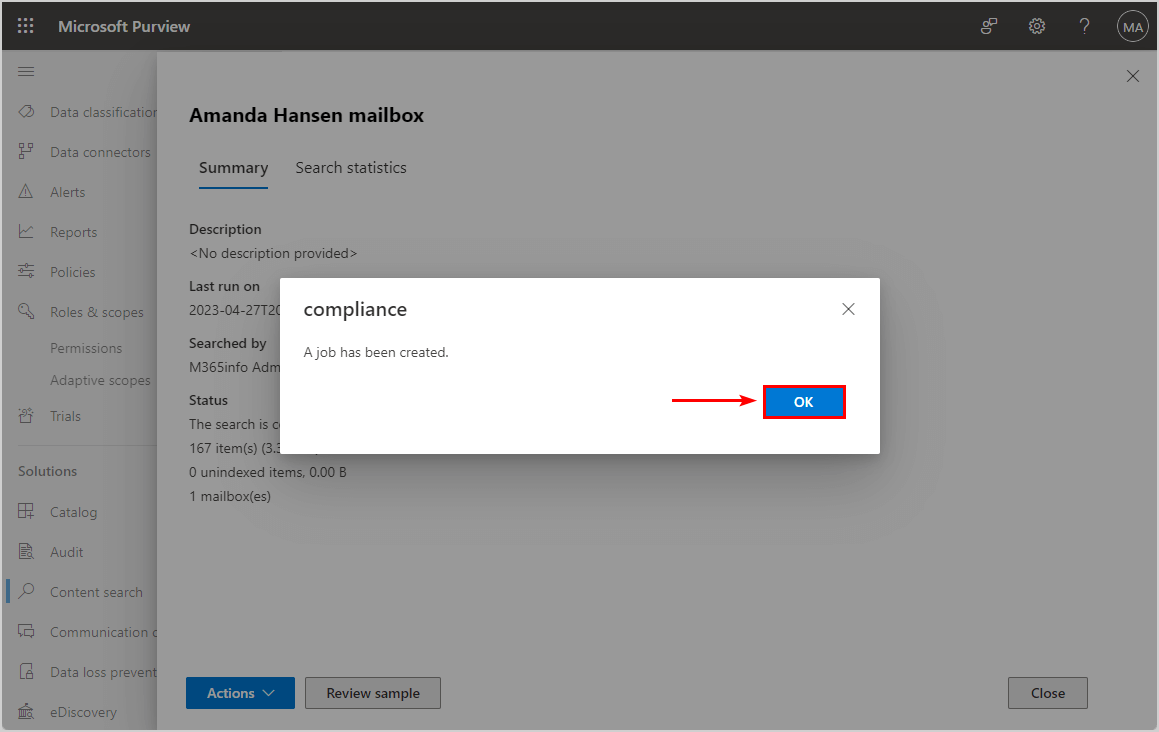
- Click Export
A job has been created.
- Click OK
4. Download Microsoft 365 mailbox PST file
The last step is to download the Microsoft 365 PST file.
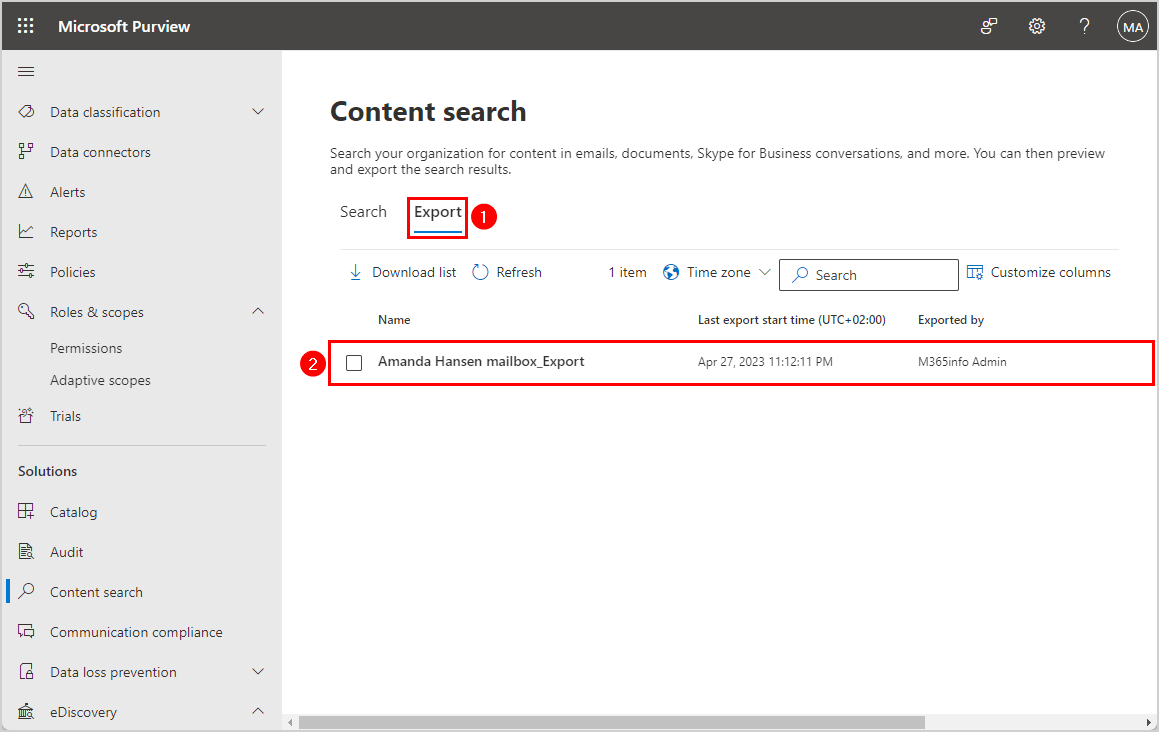
- Click on the Export tab
- Click on the name of the export job
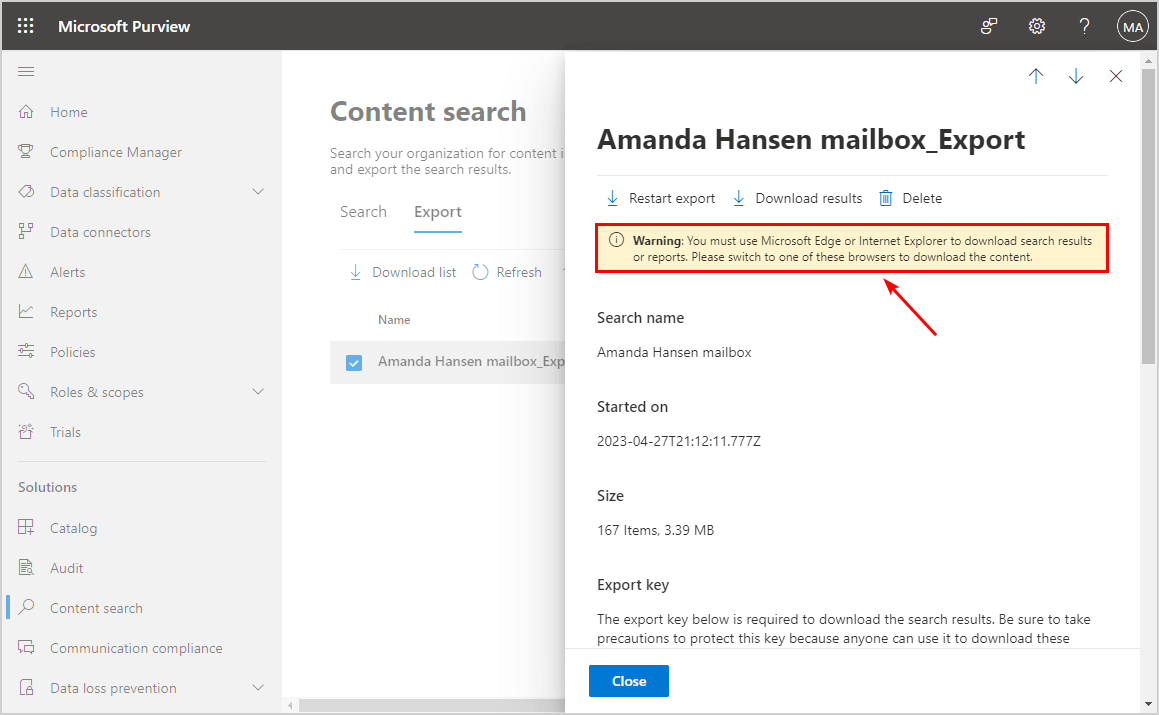
- Click Copy to clipboard
- Then click Download results

The application can’t start if you are not using a Microsoft browser, and you will see the below warning.
Warning: You must use Microsoft Edge or Internet Explorer to download search results or reports. Please switch to one of these browsers to download the content.
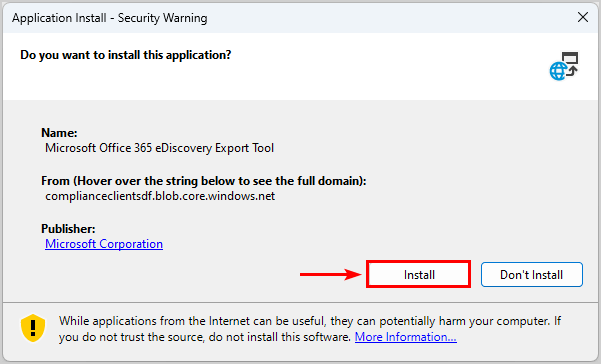
If the tool still doesn’t start, read the Microsoft documentation You can’t start the eDiscovery PST Export Tool.
- Install the Microsoft Office 365 eDiscovery Export Tool
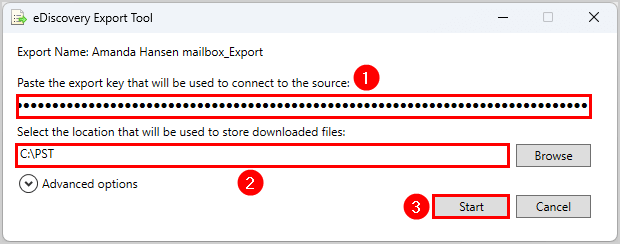
eDiscovery Export Tool opens.
- Paste the export key that you copied in the previous step
- Browse and select a location path for the PST file
- Click Start
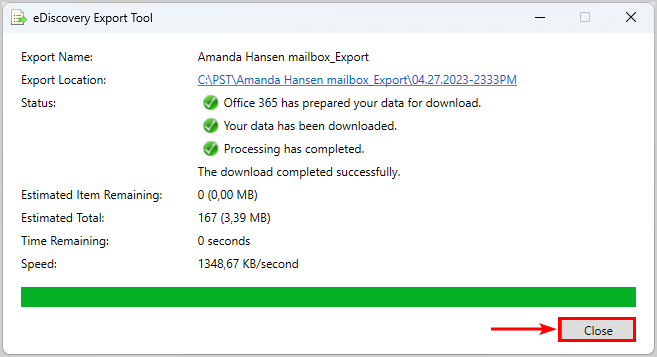
Wait until the status shows The download completed successfully.
- Click Close
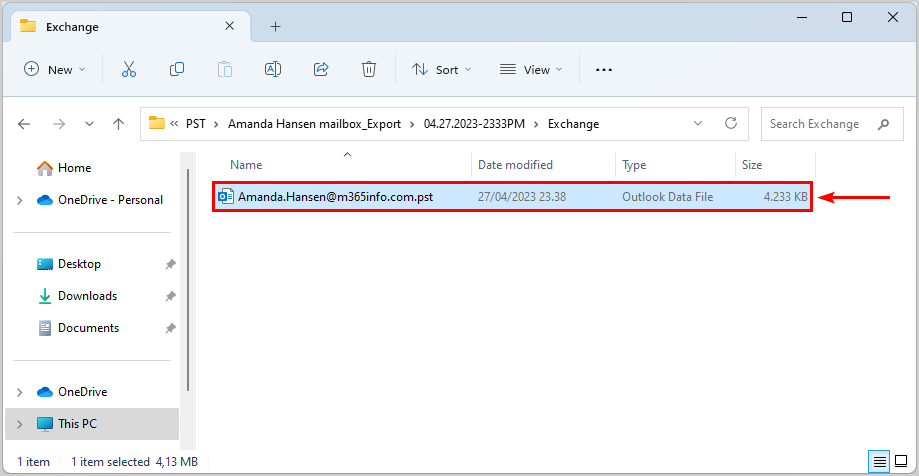
Find the PST file in the location path you selected. In our case, it is C:\PST. Open the Exchange folder, and you will find the .pst file.
Change PST file size export limit
The default PST file size export limit is 10 GB when you use the eDiscovery Export Tool. So if you export a PST larger than 10 GB, the tool will split the pst file into sequentially-numbered files. So if your file is 25 GB, it will split the PST file into 3 files, where the first 2 files are 10 GB and the last 5 GB.
Note: If you export a PST file larger than the desired maximum file size limit, the eDiscovery Export Tool will split the PST file into sequentially-numbered files.
You can change the default 10 GB PST file export size.
Follow the steps on the computer where you run the eDsicovery Export Tool to export PSTs.
1. Close the eDiscovery Export tool
2. Run the app Registry Editor as administrator
3. Create the following registry key:
HKEY_LOCAL_MACHINE\SOFTWARE\Microsoft\Exchange\Client\eDiscovery\ExportTool
4. Right-click in the folder to create a new String value of 20 GB for the PST export file size limit
PstSizeLimitInBytes=21474836480
5. Change the String value for the desired maximum file size limit to export a PST file. The below table shows all the sample values you can use.
| Size in GB | Size in bytes |
| 1 GB | 1073741824 |
| 5 GB | 5368709120 |
| 10 GB | 10737418240 |
| 15 GB | 16106127360 |
| 20 GB | 21474836480 |
You did successfully export a Microsoft 365 mailbox to a PST file.
Read more: Manage user mailbox with PowerShell »
Conclusion
You learned how to export Microsoft 365 mailbox to a PST file. First, assign the administrator account to the eDiscovery Administrator role group. Next, create a new content search to export Microsoft 365 mailbox results. As last, download the PST file to your computer with the eDiscovery Export Tool. Remember, that the default PST export file size is 10 GB, but you can always change the size limit in Registry Editor.
Did you enjoy this article? You may also like to Reset MFA for Microsoft 365 user. Don’t forget to follow us and share this article.